
On this page
Streamlit Authentication: Build Secure Login Systems for Your Apps
If your Streamlit app is live without authentication, anyone can access it. Learn how to add secure login and control user access easily.

Streamlit can help us quickly build a fully functional web application. It’s really effective in prototyping as well as building full fledged internal apps. Recently we had a use case where we had a requirement of adding basic authentication in front of the streamlit app to prevent unauthorized access and discovered streamlit-authenticator.
Setting up a username and password authentication system in Streamlit can be done easily using the streamlit-authenticator library. This blog will guide you through implementing this authentication system step by step using a secure approach to handle passwords without hardcoding them in plain text.
How the Libraries Work Together
- Streamlit-Authenticator handles the authentication process. It uses the credentials (username and hashed password) from the
credentials.yamlfile (read using PyYAML). When the user enters their credentials in the Streamlit app, this library compares the entered password with the stored hashed password using streamlit_authenticator. - PyYAML loads the user credentials and settings from the
credentials.yamlfile. This file contains usernames, emails, and streamlit_authenticator-hashed passwords. It also includes settings for cookies, which manage session duration.
Before writing the code, let’s install the necessary dependencies.
Install Required Libraries
Create a requirements.txt file with the following content:
streamlit
streamlit_authenticator
PyYAML
Install the required libraries by running:
pip install -r requirements.txt
1. Create main.py – Streamlit Application Code
After installing the libraries, create the main.py file to handle user authentication:
import streamlit as st
import streamlit_authenticator as stauth
import yaml
from yaml.loader import SafeLoader
with open('credentials.yaml') as file:
    config = yaml.load(file, Loader=SafeLoader)
authenticator = stauth.Authenticate(
    config['credentials'],
    config['cookie']['key'],
    config['cookie']['name'],
    config['cookie']['expiry_days'],
)
name, authentication_status, username = authenticator.login(location="main")
if authentication_status:
    st.write(f'Welcome *{name}*')
Explanation:
streamlit_authenticator: This library handles user authentication. It reads credentials from thecredentials.yamlfile and checks them securely.- Cookies: Cookies are used to keep users logged in for a specified period (in this case, 30 days).
- Login form: The login form is created by
authenticator.login, which checks the credentials and returns the authentication status. If the login is successful, a personalized welcome message is shown.
2. Create credentials.yaml – Storing Credentials
The credentials.yaml file contains your user credentials, including hashed passwords. The passwords will be hashed using the script we’ll discuss in the next step.
credentials:
  usernames:
    admin:
      name: admin
      email: admin@example.com
      password: $2b$12$1o1gZBTv8lkkSPElckDkPu.2x87aTbkpSfisGuZtk9wSWKHfxYV/.  # Hashed password
cookie:
  expiry_days: 30
  key: superstrongkey
  name: demo_cookie
Explanation:
- User credentials: The user
adminhas theirname,email, and hashedpasswordstored here. The password should be hashed using the streamlit_authenticator algorithm before storing it in this file. - Cookie settings: Cookies manage the session, keeping users logged in for a specified number of days without needing to log in again.
3. Create hash.py – Securely Hashing Passwords
To avoid hardcoding passwords in plaintext, we’ll create a simple script called hash.py that hashes a password and prints the hashed result. Instead of keeping the password in plaintext, this script allows you to hash it before storing it in credentials.yaml.
Here’s how you can hash your password:
import streamlit_authenticator as stauth
hashed_password = stauth.Hasher(['your password']).generate()
print(hashed_password)
Explanation:
- Password to hash: Replace
'your_password_here'with the actual password that you want to hash. You don’t need to store the password in plaintext; this script will output the secure hashed password. - Hashing using bcrypt: The
stauth.Hasherclass generates a bcrypt-hashed password, which you can use in thecredentials.yamlfile. This ensures your password is stored securely.
Running the Script
Run the hash.py script to hash your password:
python hash.py
The script will print something like this:
Hashed password: $2b$12$1o1gZBTv8lkkSPElckDkPu.2x87aTbkpSfisGuZtk9wSWKHfxYV/.
Copy the hashed password and paste it into the credentials.yaml file under the password field for the relevant user.
Running the Streamlit Application
Now that all files are in place, you can run the Streamlit app by executing the following command:
streamlit run main.py
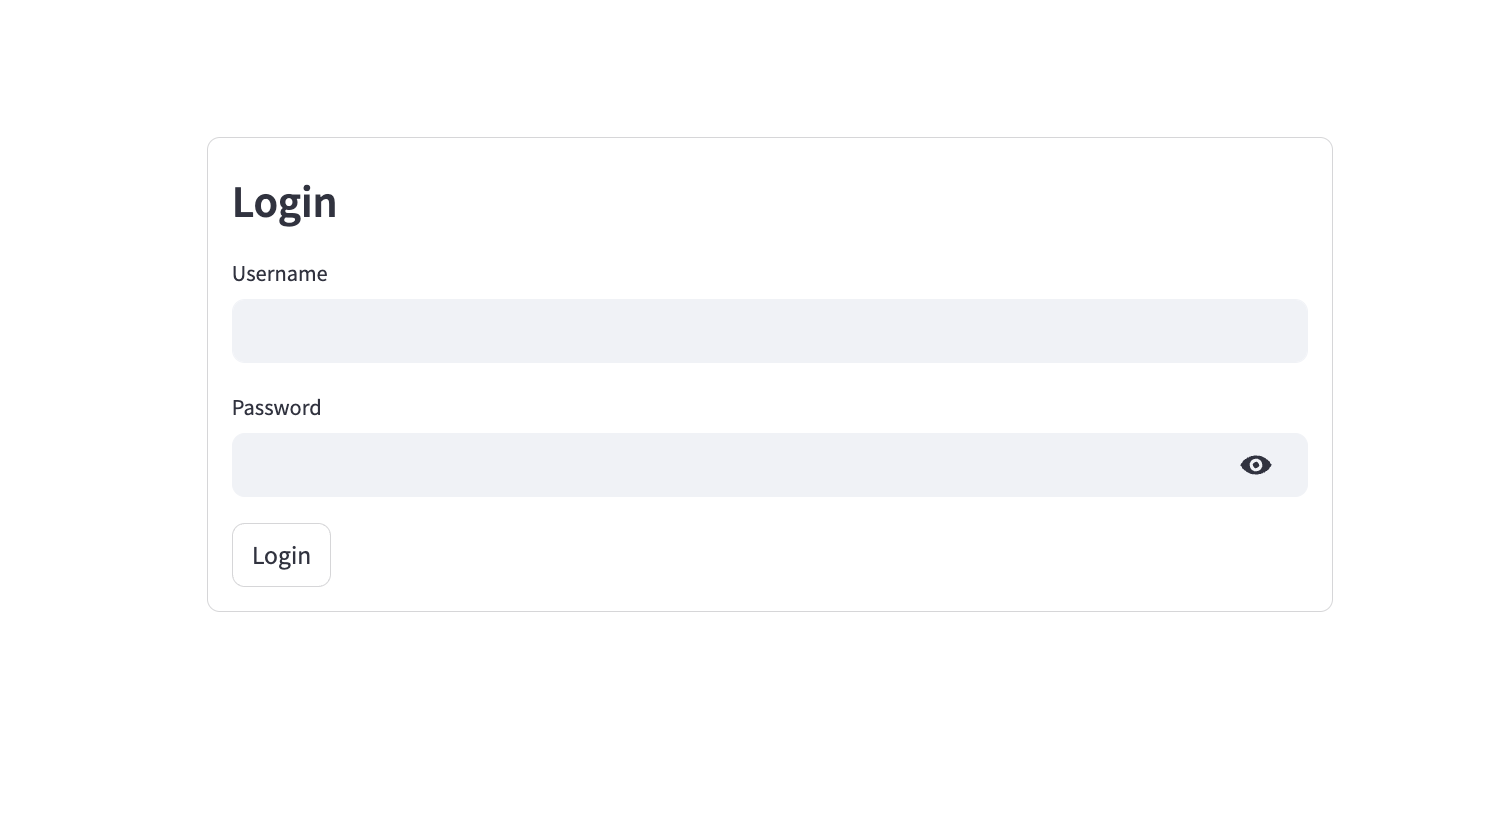
This will open the Streamlit app in your browser, showing a login form. You can log in using the credentials stored in the credentials.yaml file. If the login is successful, you will be greeted with a welcome message.
Alternative Options for Password Hashing
If you prefer a different method of hashing passwords, here are a couple of alternatives:
hashlib(built-in Python library): Useful for lightweight applications but not as secure as bcrypt for password hashing.- Example:
import hashlib
password = "your_password_here"
hashed_password = hashlib.sha256(password.encode()).hexdigest()
print(hashed_password)
passlib: A versatile library that supports various hashing algorithms like bcrypt, PBKDF2, and Argon2.
- Installation:
pip install passlib
Example:
from passlib.hash import bcrypt
hashed_password = bcrypt.hash("your_password_here")
print(hashed_password)
Conclusion
In this blog, we’ve covered how to implement a secure username and password authentication system in Streamlit using the streamlit-authenticator library. We’ve explored how to:
- Store user credentials securely in a YAML file.
- Hash passwords securely using streamlit_authenticator without hardcoding them.
- Implement a login system with session management.
By following this approach, you can securely manage user authentication in your Streamlit applications. You can also extend this setup by adding more users, roles, and permissions, depending on the complexity of your app.
At KubeNine, we specialize in providing services related to DevOps and cloud solutions. If you're looking to implement secure and scalable authentication systems like the one we've demonstrated, or if you need help with any other cloud or DevOps solutions, feel free to reach out to us. We're dedicated to helping businesses leverage the power of cloud technologies to streamline operations and enhance security.
Checkout our latest article to stream logs efficiently to CloudWatch : https://www.kubeblogs.com/streamlit-cloudwatch-logs/