How You can Automate PostgreSQL Backups to S3 Using Apache Airflow!

Introduction
Managing database backups manually can be time-consuming and prone to errors. As a DevOps Engineer you're often tasked with managing multiple databases.Organizations need a reliable and automated method to regularly back up their databases securely. Apache Airflow offers a solution to this problem by providing a framework to automate and schedule these backups efficiently.
This tutorial addresses the challenge by demonstrating how to use Airflow to automate PostgreSQL database backups to Amazon S3, keeping your data safe and available.
More About Apache Airflow
Apache Airflow is an open-source platform designed to automate and manage workflows. Developed by Airbnb, Airflow has become a popular choice for orchestrating complex data processes. It allows you to programmatically author, schedule, and monitor workflows using Python, making it highly flexible and customizable.
Key Features of Apache Airflow
- Directed Acyclic Graphs (DAGs): Workflows are defined as DAGs, where each node represents a task, and edges define the dependencies between these tasks. This structure ensures that tasks are executed in the correct order.
- Extensibility: Airflow supports a wide range of operators, hooks, and executors, enabling it to interact with various systems and services. You can easily extend its functionality by writing custom plugins.
- Scalability: Airflow can scale to handle large workloads by distributing tasks across multiple workers. This makes it suitable for both small-scale projects and large enterprise applications.
- Monitoring and Logging: Airflow provides a rich user interface for monitoring and managing workflows. It includes detailed logging and alerting capabilities, helping you track the status of your workflows and troubleshoot issues effectively.
- Community and Support: As an open-source project, Airflow has a vibrant community contributing to its development. You can find extensive documentation, tutorials, and community support to help you get started and overcome challenges.
With these features, Apache Airflow is a powerful tool for automating data workflows and ensuring your data processes run smoothly and reliably. Whether you're managing ETL pipelines, machine learning workflows, or database backups, Airflow provides the tools to build and maintain efficient workflows.
Now let's take some practical steps to understand more.
Step 1: Install and Configure Apache Airflow
Create a Virtual Environment
Using a virtual environment is recommended to avoid conflicts with other packages.
# Create a virtual environment
python3 -m venv airflow_venv

# Activate the virtual environment
source airflow_venv/bin/activate
Install Apache Airflow
# Install Apache Airflow using pip
pip install apache-airflow
Step 2: Set Up PostgreSQL
1. Install PostgreSQL and psycopg2
sudo apt-get install postgresql postgresql-contrib
pip install psycopg2-binary
2. Install PostgreSQL and psycopg2
Switch to the PostgreSQL user:
sudo -i -u postgres
Create a new database and user:
psql
CREATE DATABASE airflow_db;
CREATE USER airflow_user WITH PASSWORD 'your_password';
ALTER ROLE airflow_user SET client_encoding TO 'utf8';
ALTER ROLE airflow_user SET default_transaction_isolation TO 'read committed';
ALTER ROLE airflow_user SET timezone TO 'UTC';
GRANT ALL PRIVILEGES ON DATABASE airflow_db TO airflow_user;
\q
exit
3. Configure Airflow to Use PostgreSQL
Open the Airflow configuration file:
vim ~/airflow/airflow.cfg
Modify the sql_alchemy_conn line to point to your PostgreSQL database.
By default, Airflow uses SQLite as its database backend.
sql_alchemy_conn = postgresql+psycopg2://airflow_user:new_password@localhost/airflow_db
Note: replace a new_password to your airflow_user password
Step 3: Initialize and Start Airflow
Initialize the Airflow database:
airflow db init
Create an admin user:
airflow users create \
    --username admin \
    --firstname Admin \
    --lastname User \
    --role Admin \
    --email admin@example.com \
    --password admin_password
Start the Airflow web server and scheduler:
airflow webserver --port 8081
airflow scheduler
Verify Airflow Database Connection:
Ensure that Airflow can successfully connect to the PostgreSQL database.
Check the Airflow Web UI:
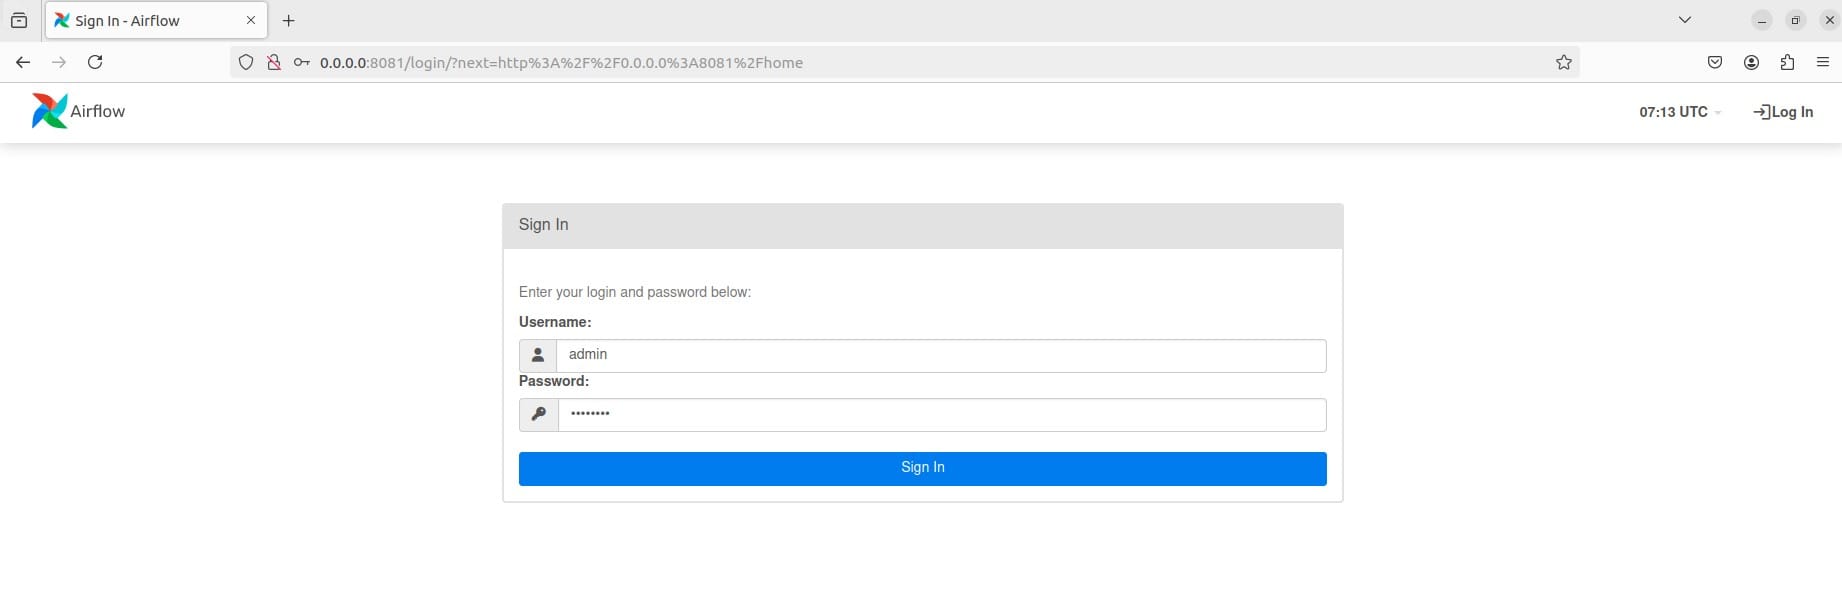
Open the Airflow web UI in your browser at http://localhost:8081You should see a login screen. Click on "Sign In" and enter your credentials.

Now, you should see the Apache Airflow homepage. Make sure Airflow is not displaying any errors.

Step 4: Create Your First DAG
Before creating a DAG file, we need to set up airflow variables. Let's create a JSON file containing your database credentials. For example, you can name it db_credentials.json.
{
    "user": "airflow_user",
    "password": "new_password",
    "host": "localhost",
    "dbname": "airflow_db"
}
Set the JSON file as an Airflow variable:
airflow variables set DB_CREDENTIALS "$(cat db_credentials.json)"
airflow variables set s3_bucket "your_s3_bucket_name"
Let's Create the DAG File:
Store your DAG file in the dags directory of your Airflow home directory (e.g., ~/airflow/dags).Paste the following content into database_backup_restore.py
from airflow import DAG
from airflow.operators.bash import BashOperator
from airflow.models import Variable
from airflow.utils.dates import days_ago
import json

# Define default arguments
default_args = {
    'owner': 'airflow',
    'retries': 1,
}

# Fetch and parse the DB_CREDENTIALS variable
db_credentials = json.loads(Variable.get("DB_CREDENTIALS"))
db_user = db_credentials["user"]
db_password = db_credentials["password"]
db_host = db_credentials["host"]
db_name = db_credentials["dbname"]
s3_bucket = Variable.get("s3_bucket")
backup_path = "/path/to/backup/backup.sql"

# Define the DAG
with DAG(
    'database_backup_restore',
    default_args=default_args,
    description='Automate database backup and restore',
    schedule_interval='@daily',
    start_date=days_ago(1),
    catchup=False,
) as dag:

    # Task to back up the database
    backup_db = BashOperator(
        task_id='backup_db',
        bash_command=f'PGPASSWORD={db_password} pg_dump -U {db_user} -h {db_host} {db_name} > {backup_path}'
    )

    # Task to upload the backup to S3
    upload_to_s3 = BashOperator(
        task_id='upload_to_s3',
        bash_command=f'aws s3 cp {backup_path} s3://{s3_bucket}/backup.sql'
    )

    # Define task dependencies
    backup_db >> upload_to_s3
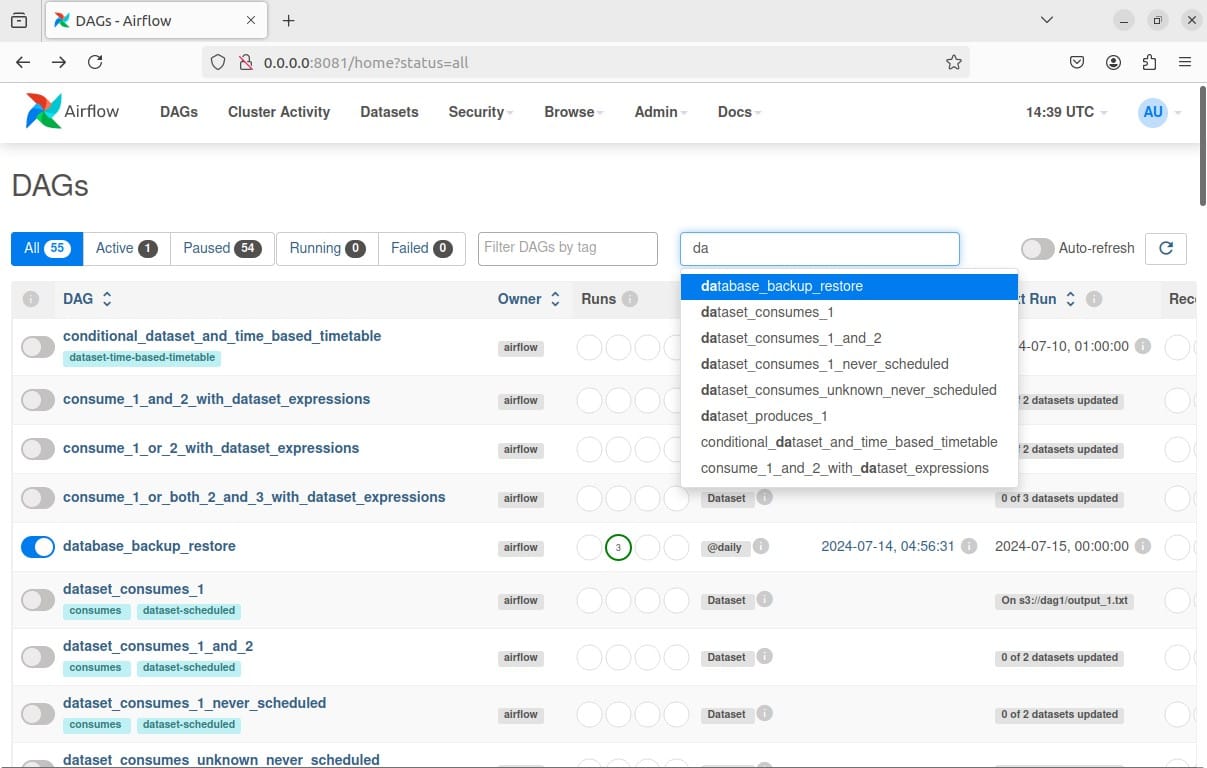
After creating the DAG file database_backup_restore.py, let's run your DAG file manually. Search for our DAG database_backup_restore in the Airflow search UI.

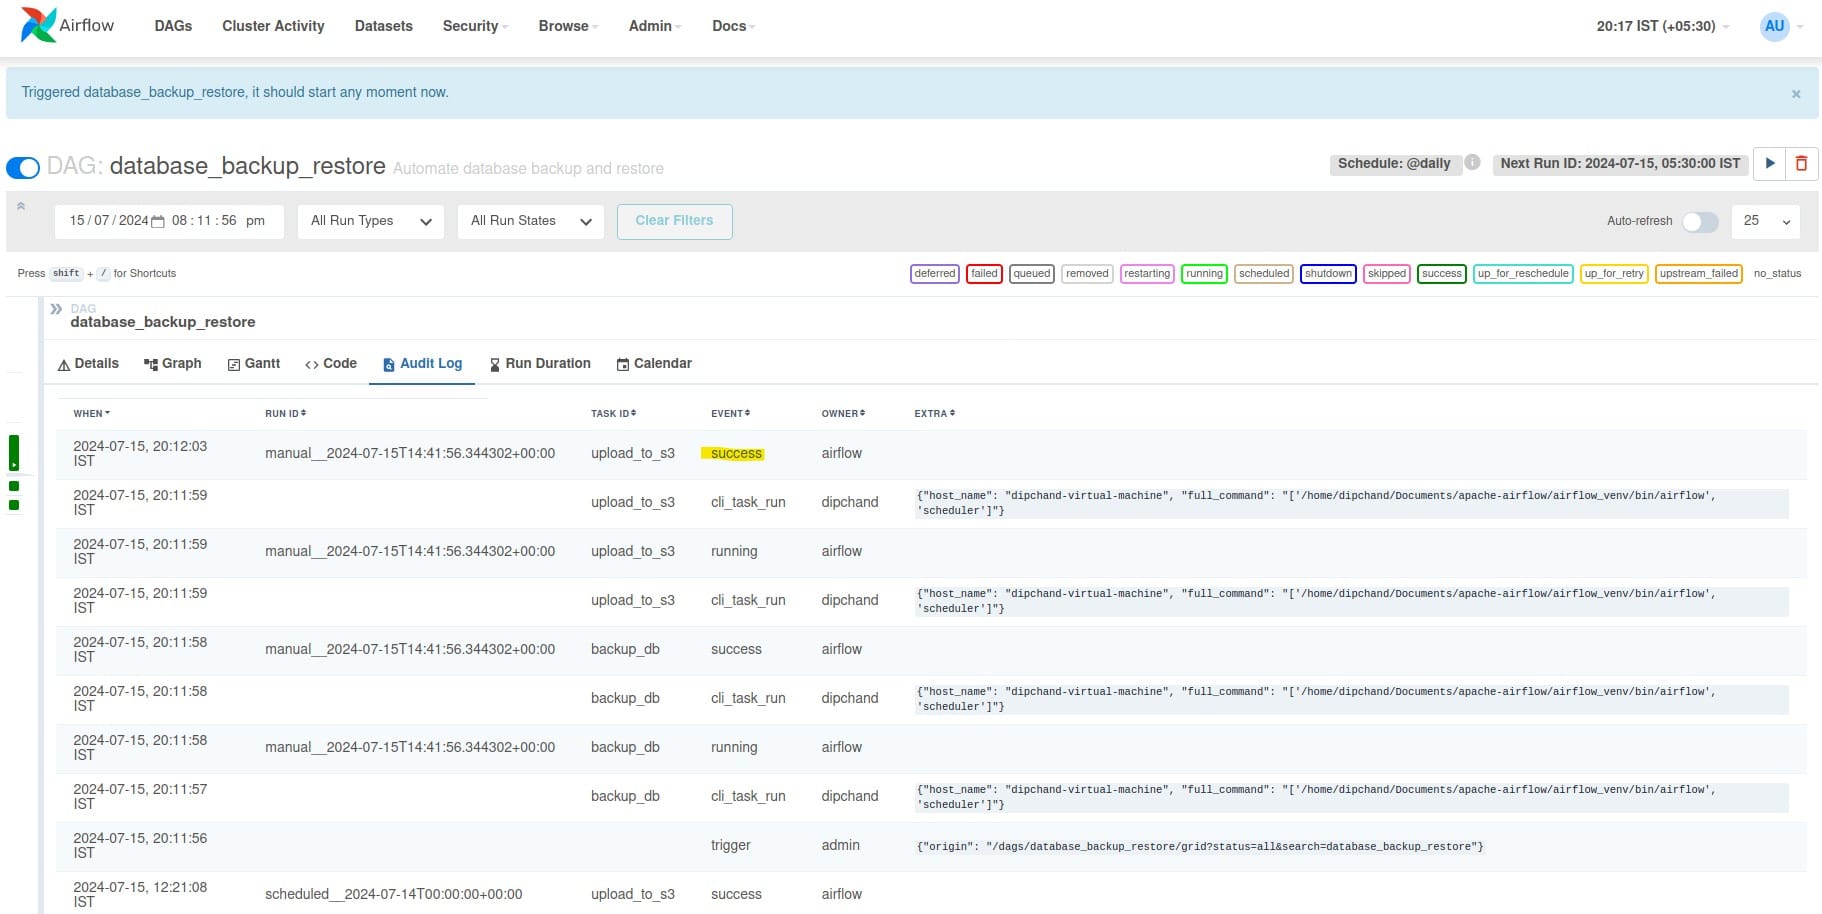
Now, trigger the DAG. Then, go to the Audit Log section to see all the details.

If you go to your S3 bucket, you should see a backup of the SQL file named backup.sql.

By following these steps, you have successfully set up Apache Airflow locally, configured it to use a PostgreSQL database, and automated the backup of your PostgreSQL database to an Amazon S3 bucket.
Conclusion
We just saw how we can manage the backup lifecycle of a PostgreSQL database using airflow. You can extend the DAG further to automate backups for multiple databases. Now's your turn to get more creative with Airflow!
Looking to adopt airflow to automate workflows at your organisation? Reach out to us at KubeNine and we can help!
If you are still new to Apache Airflow do checkout our detailed blog: https://www.kubeblogs.com/apache-airflow-for-devops-engineers/

